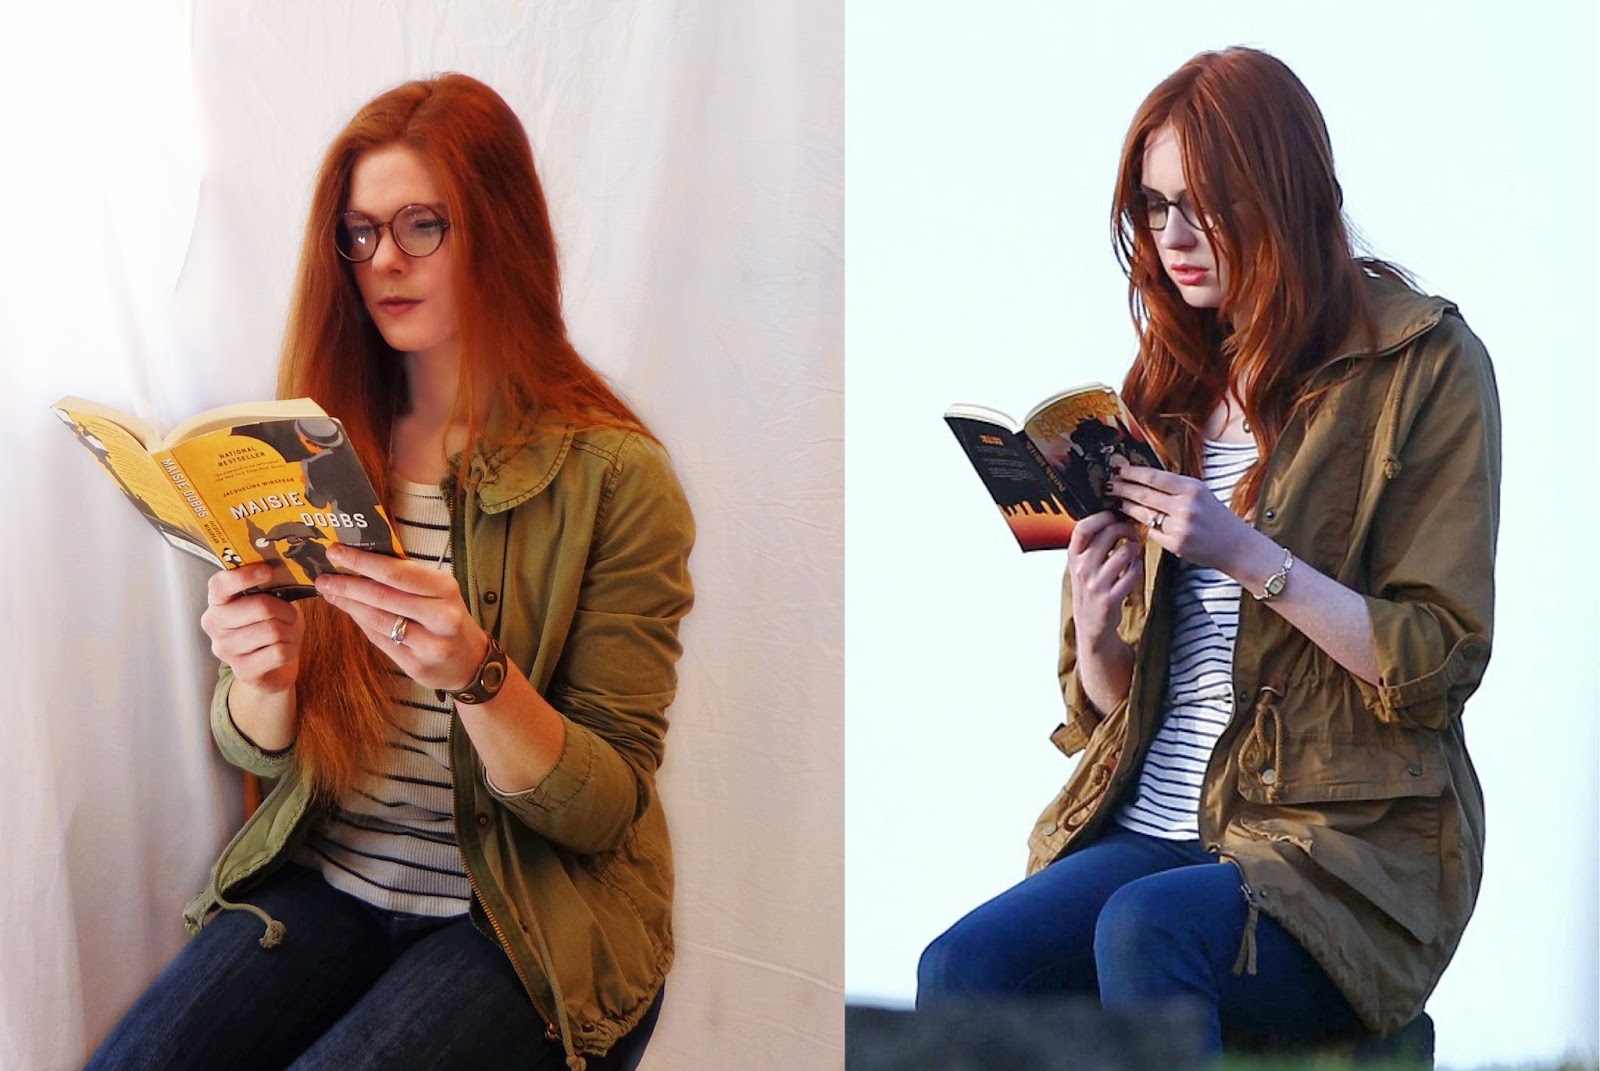
Anne Shirley is one of my favorite people.
She’s spunky, imaginative, and has one of the best crops of
red hair ever.
I was watching Anne of
Avonlea a few weeks ago, and spent the entire 4 hour movie in a focused
study of her head, mesmerized by her hairstyles. I regret nothing. She is my
inspiration for all fashion pursuits. So, I tried to come up with something
that would resemble the period fashion and be relatively easy to replicate. And
here’s what I got:
Not bad. Easy to replicate – not necessarily. It looks a bit
different each time I try, but it’s not actually hard to put together, so I’m
okay with that.
And I’d like to tell you how I do it! So you may have
big-hair bliss as well.
Pre-game step: Get this
stuff together
 |
| Hairspray, bobby pins, teasing comb, jumbo clip. So fancy, I know. You can ignore everything else in the picture. |
Step 1. Volumize
A lot of people have told me they love my hair – “It has so
much volume!” – Sadly, this is not entirely its own doing. It is naturally thick,
but the real voluminous secret is my teasing comb and a can of hairspray. One
of my college roommates taught me the magical secret of hairspray, teasing
combs, and the self-confidence it takes to rock that big hair style (Thanks,
Mary. Love ya, girl.). She had a magnet on our refrigerator which read, “
I’m only as strong as the coffee I drink and the hairspray I use.”
If that quote were in the Bible, it would be my life verse.
But seriously, I love big hair so much, I should have been a
child of the 80s. Or least a time period where it was socially acceptable to
appear in public looking like this:
Look at her hair. LOOK AT IT.
Gorgeous.
So, the key to this particular hairstyle is volume, ergo
teasing.
Tease it, girl.
Tease that hair ‘til it’s full of secrets.
If you don’t know how to tease your hair,
here’s a great tutorial on the least damaging way to do it.
Step 2. Pin it
After my hair looks like I stuck my finger in a socket or I’m
an extra on the set of the music video for Thriller,
I take two small sections from the front near my face and pin them back like I
would for the kind of half-up style a girl depends on when she wants to wear it
down, but her hair won’t stop falling in her face.
It doesn’t have to be much, just enough to add some poof in
the front.
Step 3. Braid.
At this point, it just looks like I have a mullet. We’re advancing a
decade at a time here, people. But that’s okay, cause it’s not finished yet.
Next, gather ALL of the rest of your hair and make like
Willow Smith, but in one direction, not two. Whip yours upside down and
separate the hopelessness into three sections, to braid with the help of
gravity. It’s a bit awkward, but practice is good.
Step 4. Secure and
spray.
Right yourself, and (still holding on to the end of the braid)
secure the middle area of the braid with some bobby pins to the back of your head.
I usually do this near the pins from the earlier step. Tuck the remainder of
the braid underneath itself, randomly stick in some more bobby pins, and spray
the whole contraption until your hair feels like a piece of plastic.
Voila! Success. Hopefully.
I know that this will probably be hard to follow without
demonstration pictures, but aint nobody got time to take pictures of the
process while it’s in process. Or enough hands.
Translation – I’m too lazy.
Have fun!


